We use cookies to make your experience better. To comply with the new e-Privacy directive, we need to ask for your consent to set the cookies. Learn more.
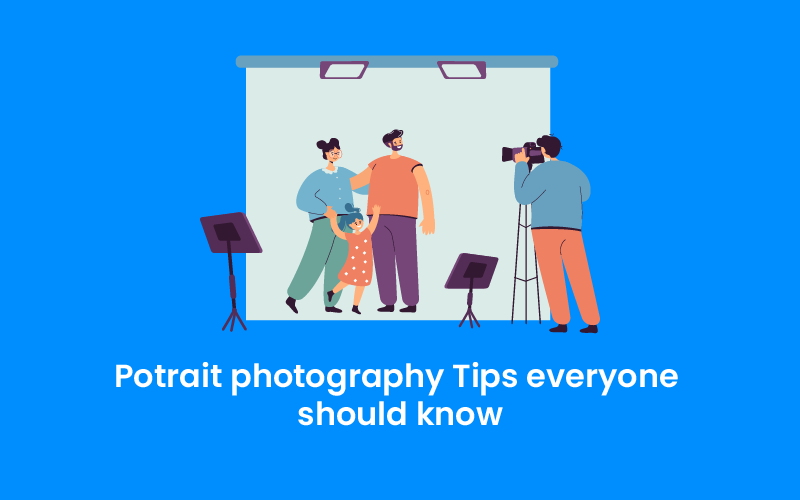
Model Photo Editing Tips - Models photography

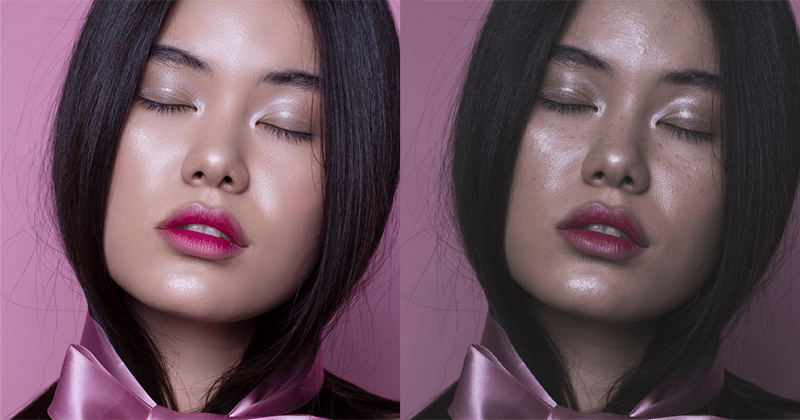
If you want to be a professional, don't go overboard and keep things in perspective. You'll need to master a number of important picture-enhancing methods. You may completely modify your photos with the aid of these model photo editing methods without spending hours studying Photoshop and Lightroom. You can make your images look like magazine shots by using these effects and altering color palettes.
List of Models Photo Editing Tips:
- Make Proper Use of the Healing Brush
- To lighten or darken an area, use the Clone Stamp
- Know-How to Dodge and Burn
- Play with Layer Masks
- Experiment with Layer Masks
- Soft Light added to the black and white layer
- Gradients are fun to play with
- Monochrome is an excellent choice
Top 8 Lightroom and Photoshop Model Photo Editing Tips are here: You may completely modify your photos with the aid of these model photo editing methods without spending hours studying Photoshop and Lightroom. You can make your images look like glossy magazine shots by using these effects and altering color palettes.
Make Proper Use of the Healing Brush
Instead of using the Spot Healing Brush, try utilizing the Healing Brush Tool, which is more accurate and allows you to set sample spots. It will aid in the removal of skin flaws. It's useful for retouching acne or wrinkles. This brush may also be used to modify backgrounds. Watch this free video lesson to learn more about this method.
To lighten or darken an area, use the Clone Stamp
To brighten dark photographs, we recommend using the Clone Stamp Set. The majority of photographers use it to improve the background or erase skin flaws. Set the Clone Stamp's transparency to 15 percent and then increase it as necessary. It's best to utilize this tool in places that don't have a lot of little details or complicated textures. This stamp is ideal for skin retouching if you don't have time to do Frequency Separation. It comes in handy while working on the sky or modifying basic patterns to mix transitions. To operate genuinely with the Clone Stamp Set, read additional photo editing advice for amateurs.
Know-How to Dodge and Burn
The dodge and burn set may be used in a variety of ways, but it's critical to employ these tools with extreme accuracy. Create new layers to play about with this option, and remember to name them so you can locate them easily later. Shadows, mid-tones, and highlights may all be edited with these tools. Applying distinct transition effects to your images may give them additional dimensions.
Play with Layer Masks
If you need to add special effects to your image, be sure that just a small portion of it is impacted. Layer masks may be used to choose any portion of a photo that needs to be improved. Layer masks can also be useful if you want to change the color or saturation of an image. Layer masks are essential for editing various body parts individually since the color of the skin on the hands and face differs.
Experiment with Layer Masks
Simply open a B&W layer and choose the Soft Light mix style. Set the opacity to 20-60% if you don't like high contrast. You'll like how simple it is to change the brightness of each color using sliders when working with the black and white layer. You may improve the beauty of skin tones by adjusting the reds and yellows.
Soft Light added to the black and white layer
This tool may be used to make color adjustments selectively. It allows you to change the colors you've chosen. Lips can be darkened and skin tones can be evened out.
When working on shadows, you may use this tool to add blue hues, and when working on highlights, you can use it to create gold tones. The Selective Color tool may be found in the Photoshop adjustment tabs. It's preferable to make a new layer first and then apply it.
Gradients are fun to play with
Avoid overusing the gradient since it may lead your photographs to shift in unexpected ways. It lets you make colors richer and more brilliant, which may aid in the correction of washed-out photographs. Gradients may give your photos a new appearance if you utilize them correctly. Set the opacity of the layer to 20–30%.
Monochrome is an excellent choice
You may make freckles and skin imperfections almost undetectable by adjusting the red levels. You may make these little flaws more visible by adjusting the blues. Never desaturate your photo to make it black and white, since this may cause it to lose its original aspect.
If you are a Model or want to look like a model you can hire IT Passel a Professional graphic design agency