We use cookies to make your experience better. To comply with the new e-Privacy directive, we need to ask for your consent to set the cookies. Learn more.
7 Product Photography Tips to take product photos
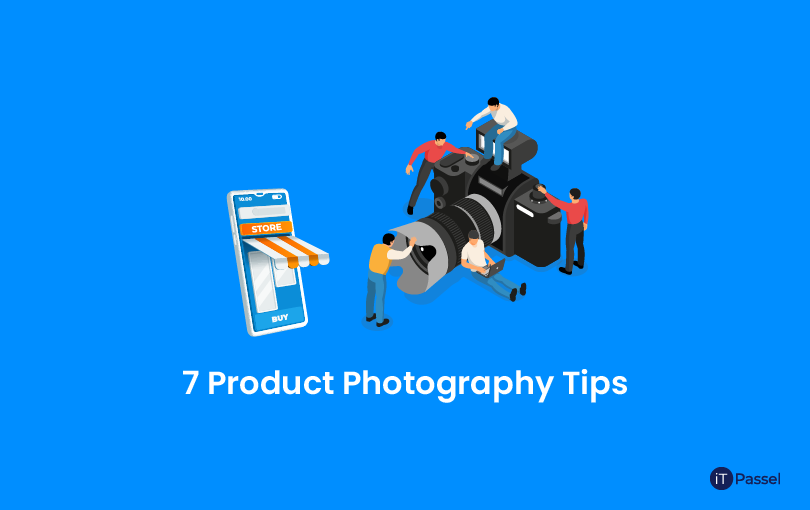
A gorgeous product image is worth a thousand website views if a picture is worth a thousand words. Product photography may be incredibly helpful to your eCommerce website strategy, despite the fact that I don't have evidence to back it up (yet). You must also provide clear, eye-catching photographs of your items to reach individuals of your target audience who like to shop online. However, the product photography is more than just pointing and shooting. Even the most basic items require the perfect equipment, lighting, and space to create stunning photographs that entice customers to buy right now.
List of Tips for Product’s PHotography:
- Don't be frightened to utilize the camera on your smartphone
- For photo consistency, use a tripod
- Choose between natural and artificial lighting
- Aim for the edit
- Take a variety of photographs from different perspectives/angles
- If you're unsure, go with a basic white background
- Take a beginner's picture editing course
Tips for Taking Pictures that Sell in Product Photography
Here are the suggestions, samples, and materials you'll need to photograph and sell your items in a way that encourages visitors and prospects to buy.
Don't be frightened to utilize the smartphone camera
This is the part where I'm meant to persuade you to buy a high-end 50-megapixel (MP) camera with a screw-on lens of 100 millimeters. But that's not something I'm going to do.
Make use of the fact that you already own a camera that fulfills this criterion. However, for many sorts of things, taking product shots using a smartphone is perfectly appropriate. Newer smartphones include strong camera lenses and settings that let you tailor your photographs to the many sorts of light and scenarios you could find yourself in.
For photo consistency, use a tripod
Before I go into tripods, I have to start with a cardinal rule: don't use your phone to orient your lens toward the subject by propping it on anything stable.
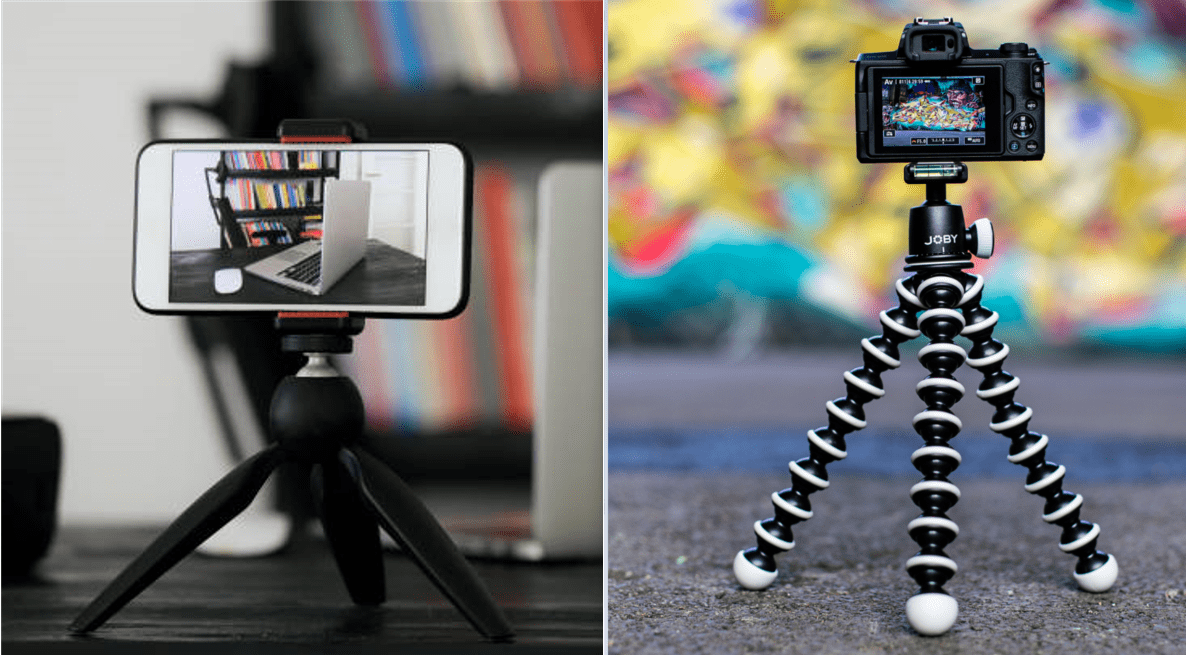
It's far too simple for this improvised arrangement to move about during the shot, resulting in irregularities in the appearance of your images. If you're going to lay your camera on anything like a stack of books, be sure it doesn't move throughout the shoot.
Grip for Mobile Devices
The top of your tripod usually has a screw that attaches to your camera to keep it in position. Most professional-grade cameras include a screw hole on the underside specifically for this purpose, however, smartphones may utilize the following adapter:
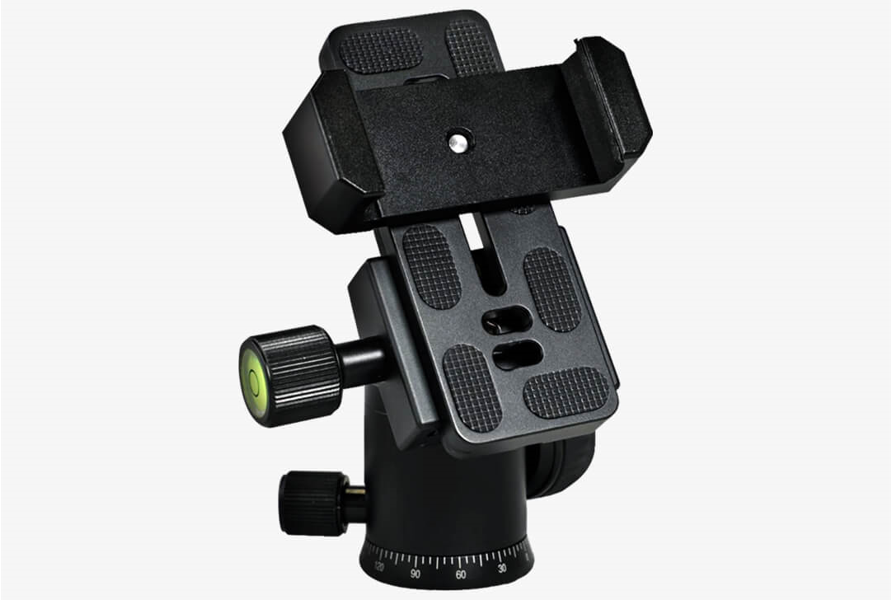
- The adapter grabs the edges of your smartphone and screws into any tripod, allowing you to manage the camera with the phone screen facing outward and toward you.
- Set it up in front of your product once you've decided which mount you'll need, and consider laying three pieces of tape on the ground to denote where you'd want to keep each leg of your tripod during the shot.
Choose between natural and artificial lighting
Never overlook how different forms of light may help (or hurt) your product photography. Buyers receive the greatest look at an item in person, where they can see all they need to know before making a purchase. When all your website visitors have is a photo to go on, the appropriate lighting setup may help you show those crucial decision-making product qualities.
A single lighting system may not be appropriate for all items, and a lighting arrangement that is appropriate for certain products may detract from the presentation of others. Natural and artificial light are the two forms of light you might use as your main light source.
Light from the Sun
Simply put, natural light refers to sunshine. Because the sun throws a greater, softer range of light than, for example, a bulb shining directly on the goods, it's also known as "soft light."

If the product was shot outside or is designed to be utilized outside, eCommerce product images benefit from natural light.
A person uses, wears, or shoots with the product (people tend to look better in natural light).
You're attempting to draw attention to the product's surroundings rather than its unique features.
Artificial Light
Candles, fire, and, more often, light bulbs are examples of artificial light. Because it provides a smaller but more concentrated light surface, it's also known as "hard light." This style of lighting is designed for items that have physical elements that need to be highlighted in order to wow an online buyer.
To soften shadows, fill or bounce your light
Whether you employ natural or artificial light, you'll need to reduce the shadows cast on the opposite end of a product by any possible harsh light.
There are three options for doing so:
Light up the room
To accompany your main light, add a second, less strong light source. This additional light is known as your fill light, and it's utilized to lessen the natural shadow cast by your primary light behind an object. To do this, position your fill light opposite your primary light, with your product sandwiched between the two.
Flash Diffuser
A flash diffuser or reflector card is a little card that reduces shadows by "reflecting" or "bouncing" the primary light back onto the surface underneath your product. This casts a softer light on the subject from above your set, rather than directly at it, preventing lengthy shadows from trailing behind the thing you're photographing. Below are two versions of this item Flash may be diffused by both white (left) and foil (right) displays.
Bounce Card That Can Be Used On Its Own
A flashbulb bounce card isn't an option if you're shooting with a smartphone because you don't have a real flash to attach it to. Make your own solo bounce card and place it opposite your primary light source instead.
This bounce card may successfully replace your fill light for novices to product photography, which counteracts the harsh light from the camera flash or lamp that is facing toward the front of your object.
To highlight the product, use a sweep or portrait mode
There is no one-size-fits-all approach to positioning your goods, lighting, and bounce cards; they might all look different depending on the background. However, don't pick a background solely on how simple it is to make. Backgrounds should reflect how you want your customers to see your goods while they're looking at them on the internet. First, decide whether you want a white or a more dynamic, real-world background. Each one can be accomplished quickly.
Aim for the edit
Think again if you think you can slap together some poor product photos and perform your Photoshop magic on them. While product photo editing is a talent that may significantly improve the quality of a product shot, these alterations are limited. I prefer to think of editing as doing minor tweaks to a piece of art that is already stunning. This is an issue if you need to modify the background or fully crop something out.
Try to shoot for the edit while photographing your products. With this approach, you'll shoot knowing that you'll just do little edits to improve the image rather than fully change it. This will result in a significantly more desired outcome.
Take a variety of photographs from different perspectives/angles
If you have a huge number of goods to photograph, it may be tempting to capture only one or two of each and then move on. This, however, will not aid in shooting for the edit. Taking many photographs from various angles helps demonstrate to your clients how your goods appear. Plus, it will provide you alternatives when it comes time to update, so you won't be left wondering, "Should we entirely redo this one?"
If you're unsure, go with a basic white background
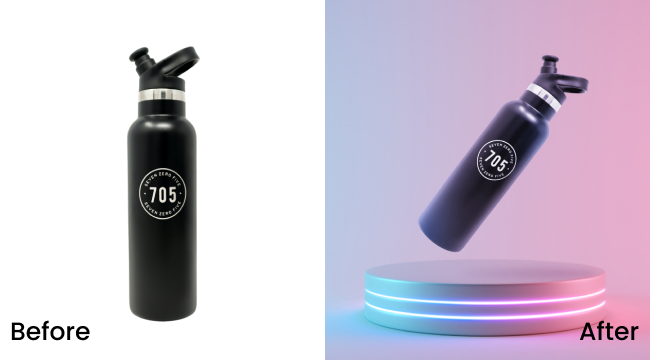
When I was in college, I took a food photography class and immediately saw how effective basic backdrops can be. When shooting food, the worst thing you can do is place your prop in front of a busy, patterned background. The star of the show should be your tasty meal of pasta or gorgeously designed cake, but it gets buried in the background noise. Keeping your background basic ensures that the product you're attempting to sell isn't lost in the photo. White is always a wonderful option to guarantee your product is the star against a crisp and clean background. Other light hues like pastel blue, pink, and yellow can also work nicely. While most editing should be modest, it is still an important skill to have in your product photography toolkit. Small edits, such as adjusting the saturation or hiding minor faults in your product shot, may make a big impact on the final result.
IT Passel is a well known Professional Graphic Company, if you want Product photo retouching you can hire IT Passel's Professionals.